Menggunakan GIF Live Wallpaper , tidak pernah lebih mudah untuk mengatur GIF sebagai wallpaper dan / atau layar kunci Anda. Namun, segudang aplikasi pilihan dapat merasa luar biasa di kali – Anda mungkin tidak yakin bagaimana melakukan persis apa yang ingin Anda lakukan. Nah, itulah tujuan kami di sini.
Langkah 1Unduh GIF
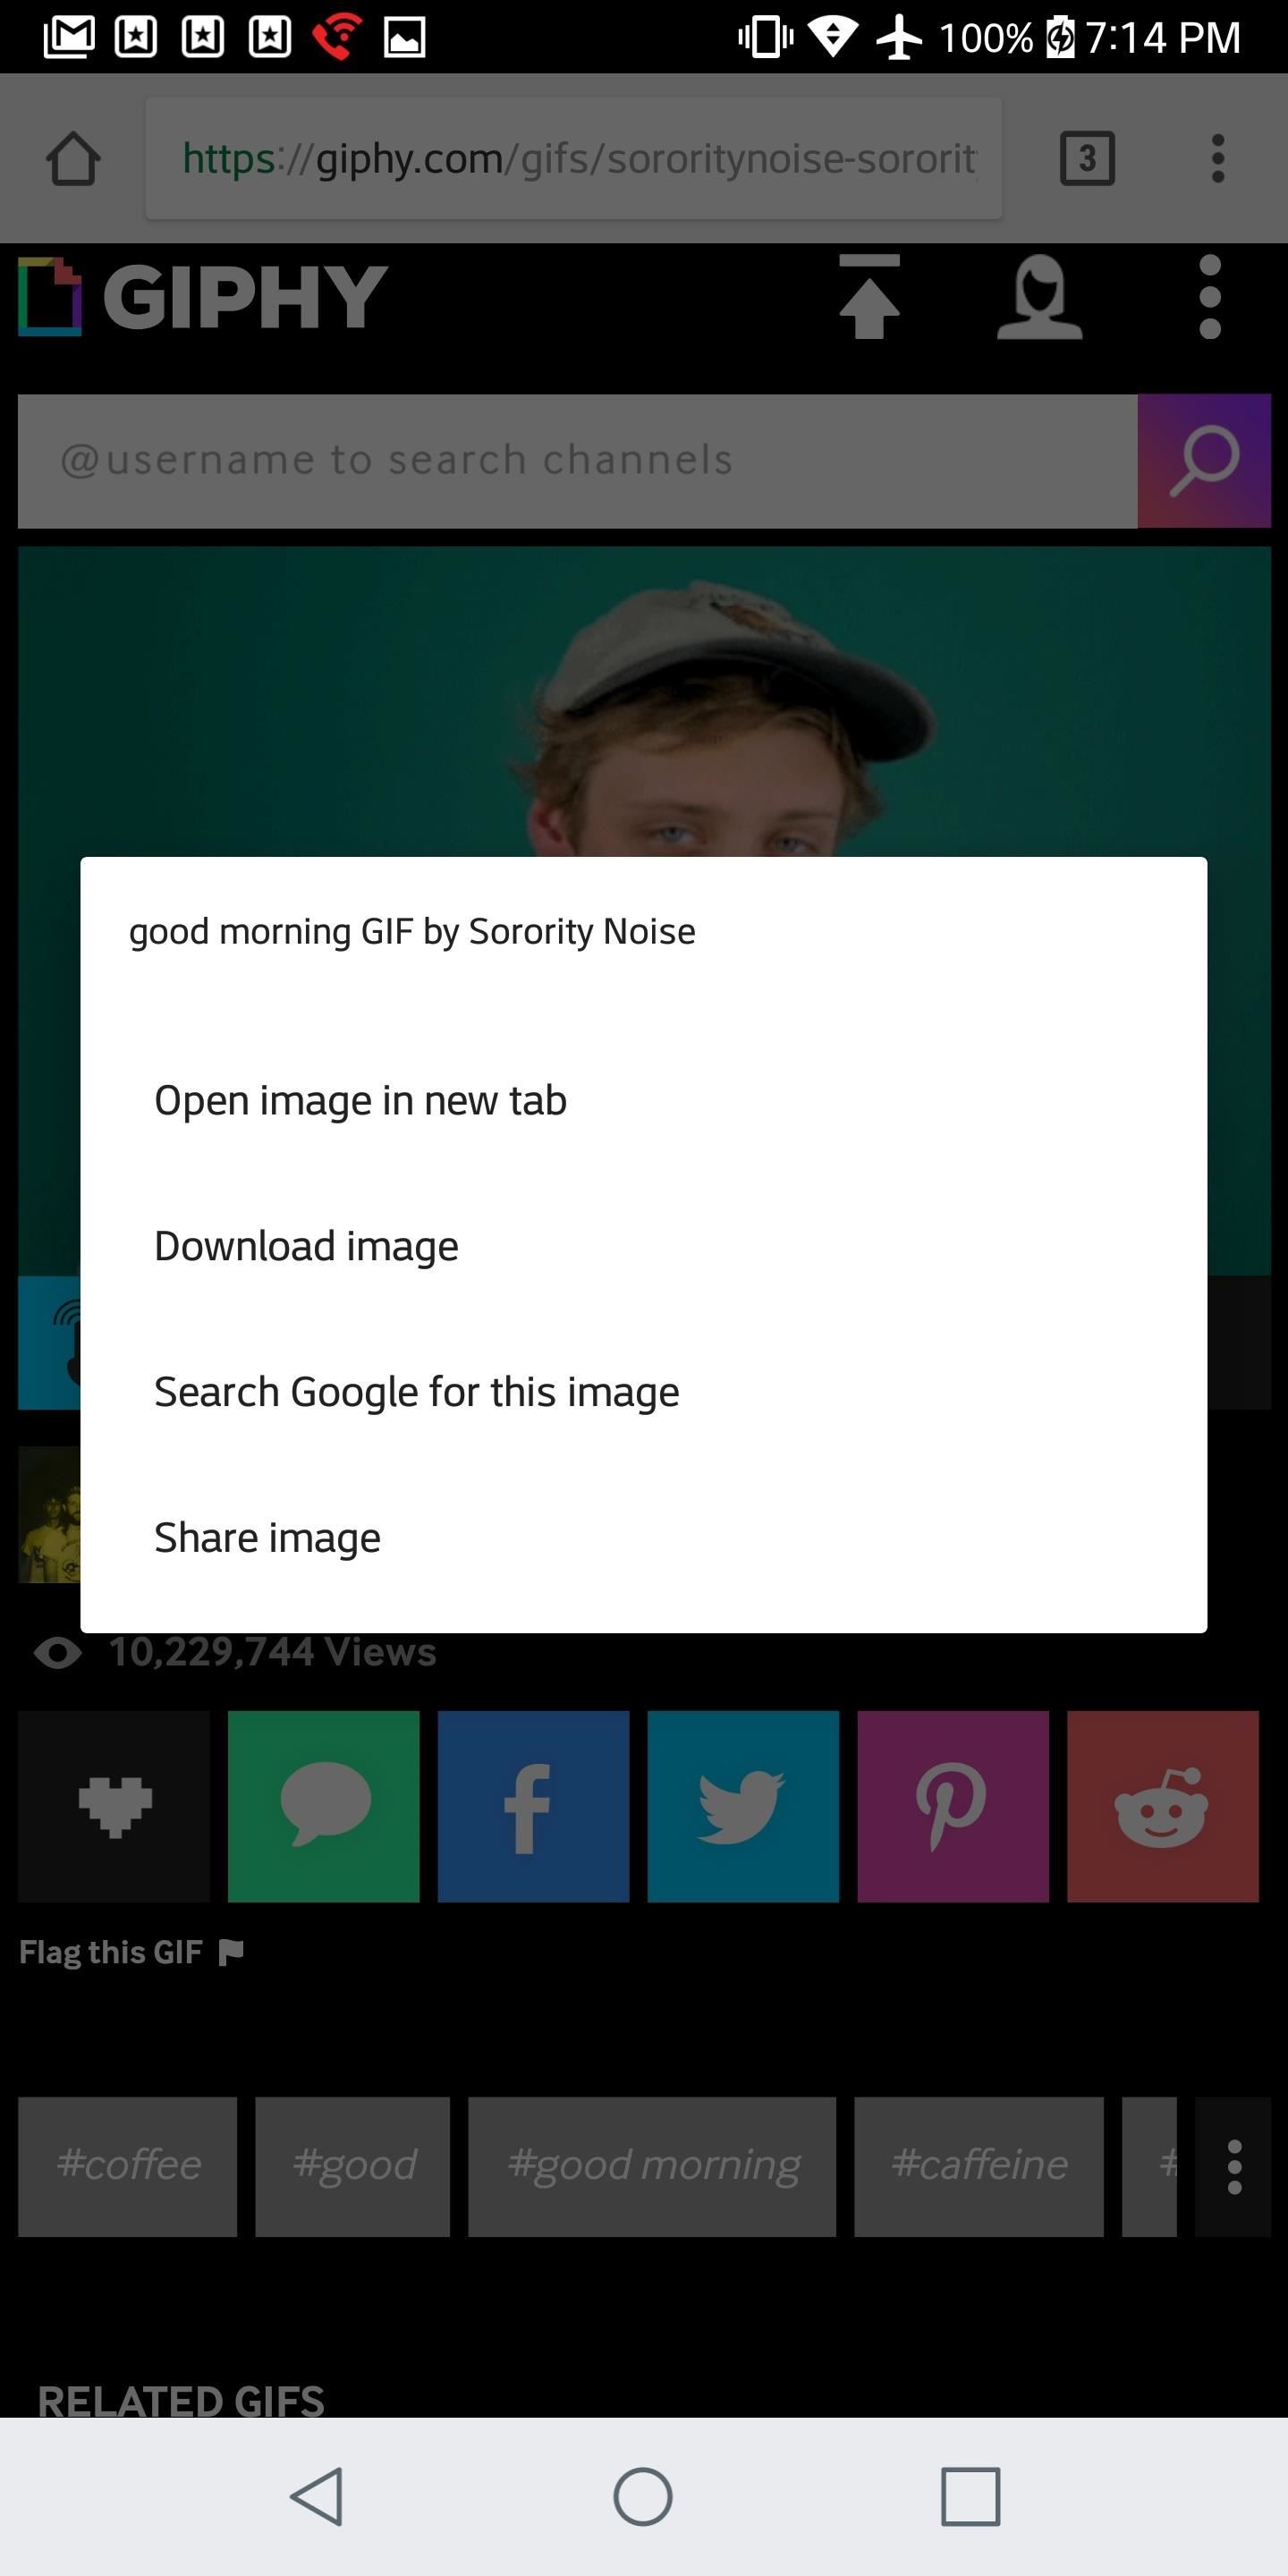
Jika Anda seperti saya, Anda mungkin telah melihat ribuan GIF, tetapi Anda mungkin belum mengunduh satu pun. Untungnya, ini cukup sederhana. Pergi ke situs web yang memiliki GIF pilihan Anda ( GIPHY memiliki banyak pilihan). Tekan lama pada GIF yang ingin Anda unduh, lalu ketuk “Unduh gambar.”
Langkah 2Pasang GIF Live Wallpaper
Selanjutnya, Anda harus menginstal GIF Live Wallpaper di ponsel Android Anda. Untuk melakukan itu, cari “GIF Live Wallpaper” di Google Play atau gunakan tautan di bawah untuk melompat ke sana. Ketuk “Instal” untuk mengunduh dan menginstalnya, lalu buka.
Step 3Read the Privacy Policy & Grant Permissions
When you first open it up, the app will ask you read the privacy policy. You can either tap the link to read the full policy, or you can do like I did: Lie, say you read it, and tap “Yes.” You’ll also need to give GIF Live Wallpaper access to your media, so tap “Allow” on the permission request that pops up next.
Step 4Choose Your GIF
First, you need to select the GIF you want to set as your home and/or lock screen. Tap the picture icon in the top-left of your screen. Your pictures will appear here. If you recently downloaded the GIF you meant to set, then it should appear towards the top of this list. You may, however, need to tap the hamburger menu in the top-left corner and sort by “Downloads” if it’s not there.
Step 5Resize Your GIF
Before you set your GIF as your home and lock screen, you need to customize some settings first. The GIF will likely appear really small at first, surrounded by black. Unfortunately, this is an issue you’ll have with GIFs in general, as they don’t usually mimic your phone’s aspect ratio. Luckily, GIF Live Wallpaper gives you the opportunity to resize your GIF. Remember, the way your screen looks after you’re done editing is how it’ll look on your home and lock screen.
You can move the GIF around manually by tapping it and dragging it. You can resize it with the pinch-to-zoom gesture. You can also utilize the four arrows in the top-left portion of the screen. The arrow facing upwards will immediately snap your GIF to the top of your screen. The same goes for the left, right, and downward-facing arrow. The plus sign in the center will center your GIF.
Step 6Change the Background Color of Your GIF
If your GIF doesn’t fill out the entire frame, or if you simply chose not to resize it, you’ll see borders around the image when you set it as your background. There are two ways to change the color of these borders. One, you can tap the dropper icon in the top of the screen. Next, tap on any spot in the GIF and it’ll match that color perfectly.
Anda juga dapat secara manual mengubah warna latar belakang dengan terlebih dahulu membuka menu hamburger di sudut kanan atas. Anda akan melihat tiga slider (untuk merah, hijau, dan biru). Sesuaikan slider ini sendiri, dan slider akan berubah warna untuk mencerminkan warna latar belakang yang Anda atur. Konfirmasikan warnanya dengan mengetuk ikon penetes di kanan atas. Kembali ke layar edit dengan mengetuk menu hamburger di kanan atas.
Langkah 7Pratinjau Mode Lansekap
Dengan mengetuk menu hamburger di sudut kanan atas, Anda dapat mengaktifkan pengaturan yang memungkinkan Anda melihat bagaimana GIF Anda akan terlihat dalam mode lansekap. Kebanyakan peluncur tidak memungkinkan rotasi, juga tidak banyak layar kunci. Jadi kemungkinannya, Anda tidak perlu khawatir tentang langkah ini.
But if your home screen or lock screen rotates when you turn your phone, tap “Landscape preview,” and your GIF will appear in the edit screen in landscape in a preview window at the bottom. You can make adjustments here to ensure that things still look good while in landscape mode. Return to edit mode by tapping the hamburger menu in the top-right corner.
Step 8Change the Speed of Your GIF
If you want to speed up or slow down your GIF, then use the tool in the top-right portion of the screen (with the running person). Tap on the plus arrow to speed up the GIF, and the minus arrow to slow it down.
Step 9Rotate Your Gif
To rotate your GIF, tap the 90° in the circle on the left. As implied by the 90°, the GIF will be rotated clockwise by 90° at a time.
Langkah 10Undo Your Changes (Opsional)
Jika Anda membuat beberapa kesalahan di sepanjang jalan, Anda dapat dengan mudah membatalkannya dengan mengetuk ikon jam di sudut kiri bawah. Hati-hati, karena ini akan membatalkan semua perubahan yang Anda buat (selain memilih GIF dan warna latar belakang).
Langkah 11Konfirmasikan GIF Anda
Saat Anda puas dengan perubahan yang Anda buat, ketuk tanda centang di pojok kanan bawah. Sebuah pesan akan muncul menanyakan Anda di mana Anda ingin mengatur GIF, tetapi ini akan bervariasi tergantung pada jenis telepon yang Anda gunakan.
Untuk sebagian besar ponsel, Anda akan disajikan dengan 3 opsi: “Set as Home Screen”, “Set as Lock Screen,” atau “Both.” Beberapa telepon akan menawarkan untuk menetapkan GIF sebagai layar utama Anda secara default, tetapi juga menyediakan opsi untuk mengaturnya sebagai layar kunci Anda.
Either way, itu harus cukup jelas – dengan skenario pertama, cukup pilih layar (atau layar) di mana Anda ingin menggunakan GIF ini sebagai latar belakang. Dengan skenario kedua, jika Anda tidak mengetuk kotak bertuliskan “Set pada layar Kunci,” maka itu hanya akan mengatur wallpaper di layar rumah Anda. Either way, setelah membuat pilihan ini, pastikan untuk menekan “Set” untuk mengirim GIF Anda.
Mulai sekarang, GIF akan menggulung tanpa henti di layar beranda dan / atau layar kunci Anda. GIF apa yang Anda pilih untuk membuat wallpaper layar kunci dan rumah? Beri tahu kami di komentar di bawah ini.
Sumber https://indoint.com/


0 comments:
Post a Comment